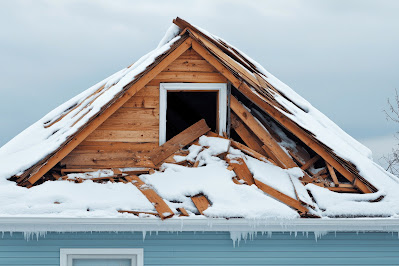
Winter is on its way, and along with it, colder weather. As temperatures begin to drop, it’s not as easy to get out and do what’s necessary to protect your home from potential damage or energy leaks.
1. Clean Your Gutters
Rain gutters can accumulate debris and fallen leaves even without trees in close proximity to your home. This DIY project includes cleaning them out before winter rain and snow arrive so water can drain properly. After removing any kind of obstructions, use a hose and strong stream of water to flush the gutters and downspouts Furthermore, make sure the downspouts are carrying water away from the foundation of the house. Repair any cracks or damage to the gutters, making sure they fit snugly against the house.
2. Check Smoke Alarms and Carbon Monoxide Detectors
According to the National Fire Protection Association, batteries in your smoke alarms should be replaced at least once a year, and if your smoke alarm is more than 5 years old, replace it with a new one. There should be at least one smoke alarm on every level of your house, with one in each bedroom. (Don’t miss reading these seven important smoke alarm tips.) Safety experts recommend similar placement for carbon monoxide detectors—one on every level of the home and near bedrooms. CO detectors should not be placed above or near fuel-burning appliances, such as a furnace, since a small amount of carbon monoxide is emitted when a furnace turns on.
3. Have Your Furnace Inspected
An often overlooked task in preparing a home for winter is a furnace inspection. Call an HVAC professional to check your furnace, vacuum dust or debris, and perform any maintenance needed. Buy plenty of filters to last you through the winter months and change them regularly. When filters become clogged, the furnace doesn’t run properly.
A clean, quality air filter also helps remove dust, pollen and pet dander from your home’s air. If you’re prone to allergy flare-ups, check out these other ways to help control indoor allergens.
4. Protect Pipes From Freezing
A burst pipe caused by freezing is no fun. Before nightly temperatures dip to freezing, make sure that the water to your hose bibs is shut off inside your house, and that the lines are drained. Check for other pipes that aren’t insulated or that pass through unheated spaces like attics, basements or garages. Place fiberglass insulation between pipes and unheated areas, leaving pipes exposed to heated areas.
5. Seal Your Windows
Seal drafty windows to keep heat in by caulking around window frames and applying weather stripping. According to the U.S. Department of Energy, you can save 10 to 20 percent of your home’s energy by performing this simple step. If you’re unsure of how to apply caulking or use a caulking gun, follow these steps at wikiHow. Now is also a good time to take down the window screens and put up storm windows, which provide an extra layer of protection for your home.
6. Call a Chimney Sweep
If you plan to use your wood-burning fireplace, have it cleaned and inspected before winter. Burning wood can cause creosote (a sticky, smelly and highly flammable substance) to build up on the inside of the chimney. Make sure the damper is working and that the chimney is capped with screening to keep out critters. You can clean ashes and debris from the fireplace yourself, but it’s best to leave the chimney cleaning and inspection to a professional. Check out the Chimney Safety Institute of America for a list of certified chimney sweeps in your area.
7. Reverse Your Fan
Reversing the direction of your ceiling fan is something that many people overlook. By reversing its direction from counter clockwise to clockwise, the fan will push warm air downward and force air to re-circulate, cutting heating costs by as much as 10 percent.
Whether or not the cold has made it’s way to you, now is the perfect time to get started on winter preparations for your home. Source


